
Updating a 1980’s Reach-In hall closet Part 2 – Installing A Pax System from Ikea
Installing an Ikea Pax closet system is a completely doable DIY task. I’m going to do a whole post about why we chose the Ikea system for our closet renovation. But, here’s how it went together.
Step 1: assemble the cabinets.
I didn’t break this down because one Ikea cabinet is just like any other. My advice is to read the directions. Read them again. THEN follow them exactly.
These are VERY tall (92 inches) and it is useful to have another set of hands for a few minutes for one part of assembly and putting them upright.
Step 2: install cabinets
To make the opening nice and crisp against the cabinet I framed the opening of the drywall with a piece of straight finish-grade pine. Then I leveled and plumbed the cabinet in the space. Removing the doors and framing made the opening deeper than the cabinet. You can see the 2×4 framing I installed near the top of the closet to anchor the cabinets to the wall. This is critical for safety and for the proper functioning of the doors and drawers.


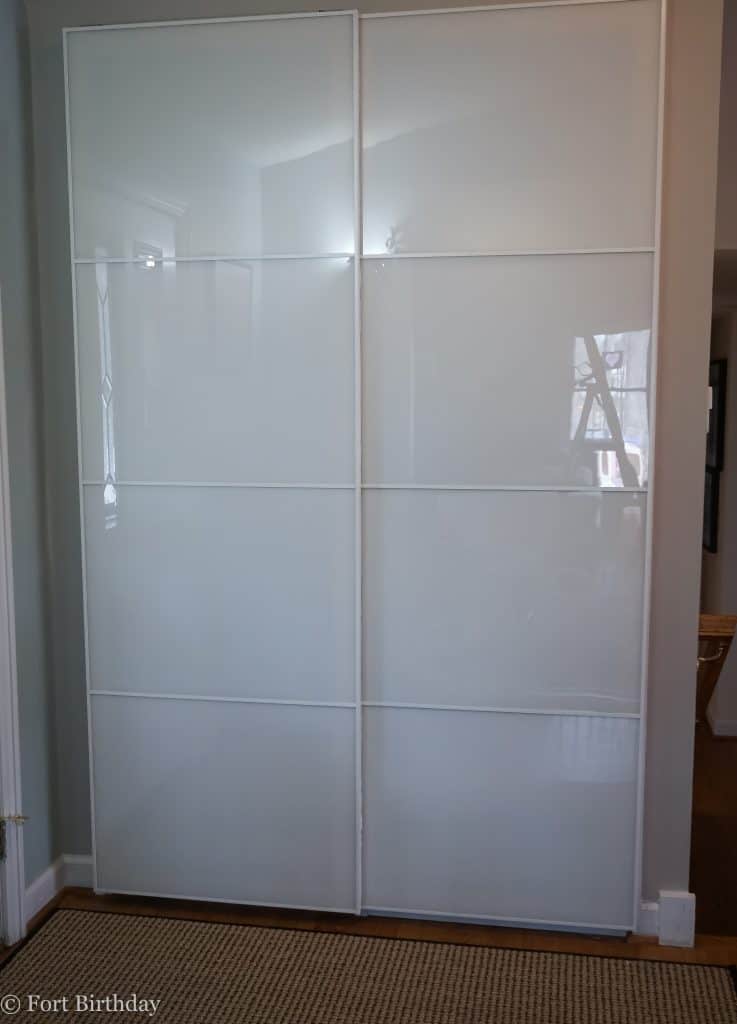
Step three: Assemble and Hang the doors
This was a tedious job for a first timer. It took a solid three hours to put the two 29 inch glass doors together. Having done it once, I think I could do it again in under 1.5 hours. Honestly, this was so engrossing I forgot to take pictures, but there are lots of good youtube videos out there.

I went with the white glass to increase the brightness in my dim hall way.
Step four: spackle, sand, spackle sand, paint.
I used the 3m drywall patch with primer to fill in the gap and cover the pine trim. Fill, sand, fill, sand, repeat until smooth.

I always always always keep paint. And so I could whip out some paint that matched the wall to cover my drywall work. I used painter’s tape on the metal edge of the system when I caulked for a tight caulk line because white of the edging was just enough different that the caulk showed up.
Remember, you use caulk everywhere you transition from one finish to another – so between the metal edging and the painted wall you want a caulk line to paint up against. This makes for a nice smooth transition. I’m a big proponent of not using painting tape for painting, I think you are better with a good brush and a steady hand.


Once you let your paint dry you may find you need to do a little more filling and sanding.

Step Five: Finish Trim
I used the old trim to finish out the molding around the base of the closet.

You can also see how the caulk line hides the transition between wall and cabinet.


carpentry work and DIY projects.

Step Six: The fun part – get organizing with the Pax system
Check out my next post to show how I tricked out the Pax system with some awesome bells and whistles.

Leave a Reply